How to Repair Plaster Walls?
Repairing of plaster walls is needed from time to time as the building ages. The most common problem with plaster walls is crumbling, water damage, cracking or pulling away from the lath behind it. Repairing process of plaster walls is presented in the following sections.
Repairing of Plaster walls
Procedures involved in repair of plaster are:
1. Identify Plaster Wall Problem
The type of damage shall be specified prior to the commence of repairing operation. In this manner, the most suitable technique and equipment can be employed to repair the damage and best outcome could be achieved.
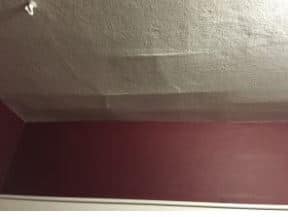
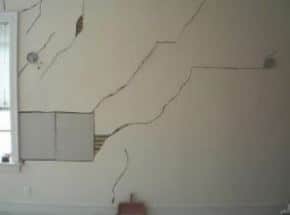
Table 1 provide types of plaster wall problems and their causes, and Fig.1 to Fig.3 shows number of plaster wall problems that need to be repaired.
Table 1 Common types of plaster wall problem and their causes
| Common types of plaster wall problem | Cause of the plaster wall problem |
| Cracks | Hairline cracks due to moisture evaporation, delaminating crack because plaster pulling away from the lath behind it, and Settlement Cracks because of building settlement. |
| Damage | activity inside the home like a collision due to moving a piece of furniture |
| Blistering | improper slaking of lime particles in the plaster |
| Flaking | poor bond |
| Discoloration | Water seepage |

2. Setting up Scaffolding
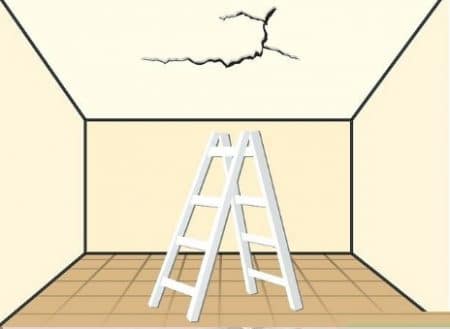
Scaffolding is required for the proper execution of the repair work should be erected. Ladder can also be used in case of scaffolding if the work can be done safely.
3. Protective Measure
Doors, windows, floors, articles of furniture etc. and such other parts of the building should be protected from being splashed by mortar.
4. Cutting of Old Plaster
The mortar of the patch, where the existing plaster has cracked, crumbled or sounds hollow when gently tapped on the surface, is first removed.
The patch is be cut out to a square or rectangular shape at position where repairing is needed. The edges of cut plaster is made under cut to provide a neat joint.
5. Preparation of Surface
The masonry joints which become exposed after removal of old plaster is raked out to a minimum depth of 10 mm in the case of brick work and 20 mm in the case of stone work.
The raking is carried out uniformly with a raking tool, and loose mortar is dusted off. The surface is then thoroughly washed with water, and kept wet till plastering is commenced.
In case of concrete surfaces, the old plaster is thoroughly scrubbed with wire brushes after the plaster had been cut out, and pock marked the surface is roughened by wire brushing, and all the resulting dust and loose particles cleaned off. The surface is washed and cleaned and kept wet till plastering is commenced.

6. Application of Plaster
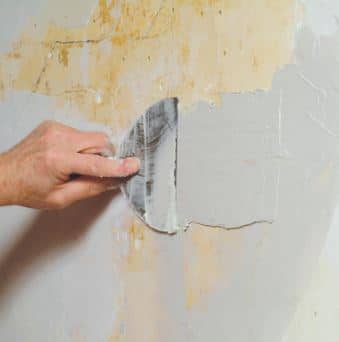
Mortar of specific mix such as 1:4 or 1:6 with the good quality plaster sand is used. After the plaster has been applied to the surface, finishing of plaster is done to match with the old surrounding plaster.
7. Curing of Plaster
Curing of plaster is necessary to prevent cracking. It should be done for at least 3 days at regular interval.
8. Finishing of Plaster
After the plaster is thoroughly cured and dried the surface is then painted with the color of the surrounding area.

"Your Article is Good
ReplyDeleteWall Crack Repair"